Reputable Cleaning Services Winnipeg: Making Your Area Luster
Wiki Article
Deck Staining Made Easy: Step-by-Step Overview for Do It Yourself Enthusiasts
Are you a DIY enthusiast looking to provide your deck a fresh new appearance? Look no more! In this detailed guide, we will certainly walk you with the procedure of deck staining. From preparing the surface area to applying the tarnish, we have actually obtained you covered. With our easy-to-follow directions, you'll be able to change your deck into a gorgeous outdoor area in a snap. Grab your tools and also let's get begun!
Preparing the Deck Surface
Prior to you start tarnishing the deck, make sure you're appropriately cleansing and fining sand the surface. Use a power washing machine or a tube with a high-pressure nozzle to extensively clean the deck. Pay close interest to locations with persistent spots or mold, and use a deck cleaner or a blend of warm water and mild detergent to treat them.
Once the deck is completely dry, it's time to sand the surface area. Get hold of a handheld orbital sander or a sanding block, and start fining sand the deck boards in the instructions of the wood grain.
Selecting the Right Stain
When deciding on the ideal discolor, you'll desire to think about the type of timber you're working with. Different types of wood have different characteristics that can influence how well they take in the stain.
In enhancement to the type of timber, you should additionally think about the shade you desire to accomplish. Discolorations are available in a variety of tones, from light to dark, and also can substantially change the appearance of your deck. If you're wanting to enhance the all-natural color of the wood, choose a clear or semi-transparent discolor. These permit the timber grain to show with while including a refined tip of color. For a much more remarkable effect, go with a strong or opaque tarnish, which will entirely cover the wood and also supply a bold, uniform shade.
Last but not least, think of the degree of protection you want for your deck. Stains with greater degrees of pigment have a tendency to give better defense against UV rays as well as wetness. If your deck is exposed to severe weather, it's worth purchasing a discolor with included safety top qualities.
Cleansing and Repairing the Deck
Mccoys Pressure Washing And Deck Staining
To clean up and repair your deck, you'll require to gather the necessary tools and materials. Get a mop or leaf blower to eliminate any loosened particles such as leaves, dust, as well webpage as twigs. Next, inspect the deck for any type of damaged or rotten boards. If you spot any kind of, make certain to have substitute boards handy, together with a circular saw and Recommended Reading also a power drill for the repair. In addition, you'll need a deck cleaner remedy, a scrub brush, and also a pressure washing machine to remove dust, mold, and also spots. Do not neglect to wear safety eyewear, handwear covers, as well as clothing while working. Once you have every little thing ready, begin by brushing up the deck extensively, focusing on the edges and sides. Then, blend the deck cleaner solution according to the manufacturer's guidelines and apply it generously to the surface area. Make use of the scrub brush to upset the remedy as well as loosen any gunk. After allowing it rest for a few minutes, rinse the deck with a stress washer, operating in a sweeping motion. Take care not to use way too much pressure as it can damage the timber. Lastly, allow the deck to dry entirely prior to proceeding to the next step.
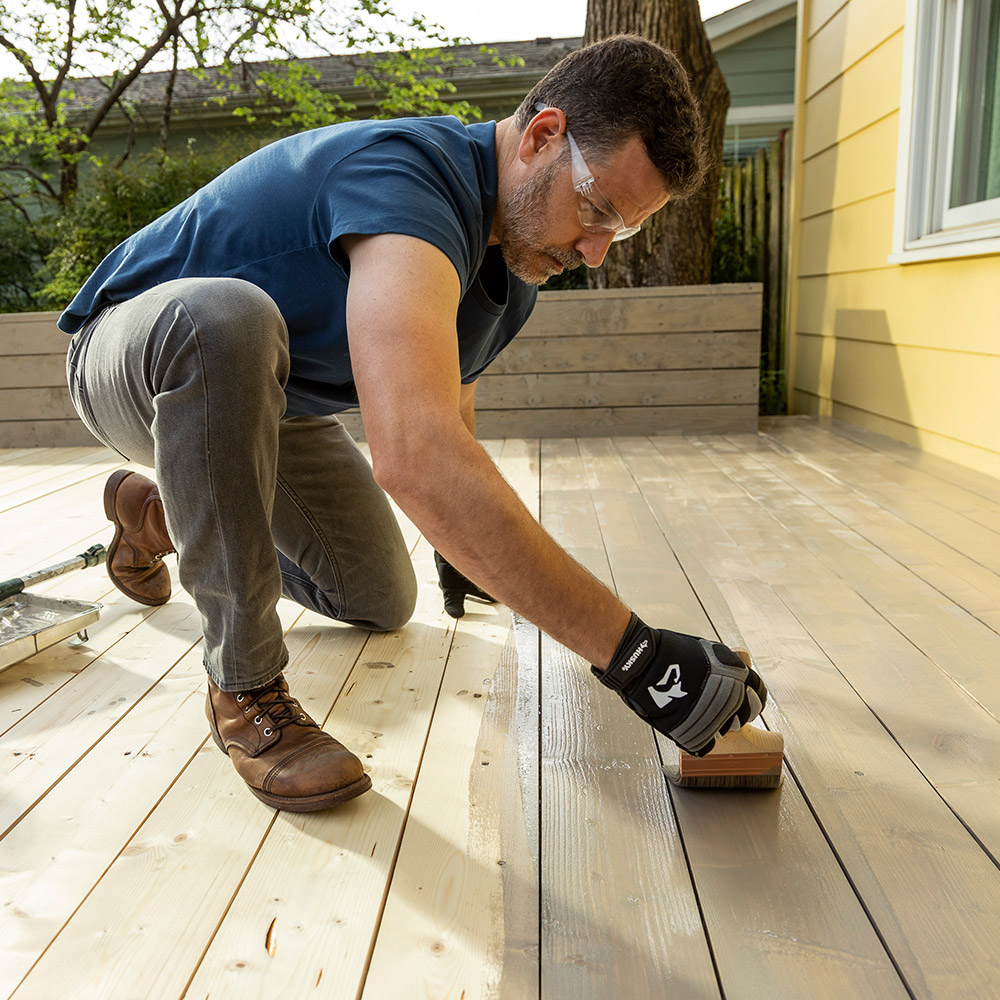
Using the Spot
Deck Staining Nashville
Now that you've ended up cleaning and also fixing, it's time to apply the tarnish to your deck. This is the exciting part where you reach see your hard job revived. Beginning by selecting the right tarnish for your deck. Think about the shade and kind of timber you have. Make certain to read the directions on the discolor can to guarantee you apply it correctly. Before you start, safeguard nearby plants and also surface areas from any possible drips or spills by utilizing a drop towel or plastic sheet. Currently, get a paintbrush or roller, and begin applying the discolor in smooth, even strokes. Operate in little areas, complying with the grain of the wood. Do not fail to remember to tarnish the edges and also corners of your deck also. As you go, see to it to remove any kind of excess discolor to avoid a blotchy finish. Enable the initial coat to completely dry completely prior to using a 2nd coat if wanted. Once you're done, let the stain remedy according to the supplier's guidelines prior to moving any Read More Here furniture or plants back onto your attractive, recently discolored deck.
Completing Touches and also Upkeep Tips
After using the last coat of discolor, it's important to routinely tidy and also seal your deck to preserve its elegance and shield it from the aspects. Pick a top quality sealer that is especially developed for decks as well as use it according to the supplier's guidelines. It's recommended to apply a new coat of sealant every 1-2 years to maintain your deck looking its ideal.
Verdict
Deck Staining Near Me
In conclusion, you have actually learned how to make deck tarnishing a very easy task for DIY enthusiasts. By following the step-by-step overview, you can prepare the deck surface area, select the best stain, tidy and fix the deck, as well as apply the stain efficiently. Don't forget the complements and maintenance tips to guarantee your deck stays beautiful and protected for several years to find. With these techniques, you'll be able to appreciate a spectacular deck that boosts the overall look of your exterior space. Satisfied discoloration!